This section covers how to containerize an existing application running on traditional WebSphere Application Server.
The final versions of the files created in this section can be found in the was90 branch of this repo
Summary:
This section has the following steps:
- Test the application locally
- Using environment variables in properties files to allow configuration to be injected in to the runtime environment dynamically.
- Advanced: put your passwords in secrets.
Build a container
IBM Cloud Transformation Advisor will provide an initial set of files to simplify creating a container for the application. Transformation Advisor creates a migration bundle that will have a Dockerfile, WAS configuration scripts and Kubernetes deployment resources.
Start by clicking on CustomerOrderServices.ear in IBM Cloud Transformation Advisor.

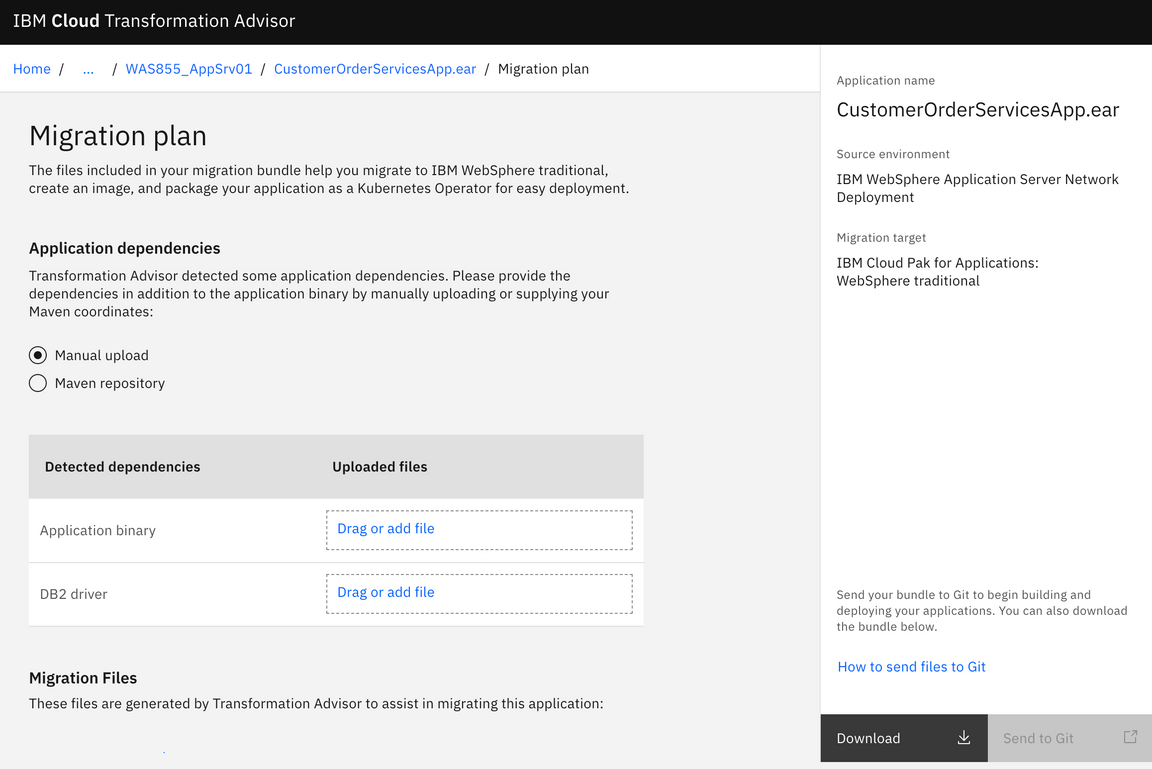
Select View Migration Plan to begin process of creating the files needed to containerize the application.

Verify Manual Upload is selected. Optionally we could provide the application binary and drivers but we will leave them blank and update the generated files later to provide the information.
Select Download to generate a zip file of the assets needed to build a container for the application.
Review the migration bundle generated for this application.
The READ_THIS_FIRST.md gives important information on how to use the bundle. We will follow the steps listed below.
The DB2 drivers are added to the lib directory.
The application ear is added.
The Dockerfile is updated to include the name of the ear file
COPY --chown=was:root CustomerOrderServicesApp-0.1.0-SNAPSHOT.ear /work/config/CustomerOrderServicesApp-0.1.0-SNAPSHOT.earThe server_config.py is updated to include the name of the application ear file.
app = AdminApp.install("/work/config/CustomerOrderServicesApp-0.1.0-SNAPSHOT.ear", [parms])Build the container image using docker build command. The code is in the was90 branch. Clone the branch to copy the files to your system
```git clone --branch was90 https://github.com/ibm-cloud-architecture/cloudpak-for-applications.gitcd cloudpak-for-applicationsdocker build --tag customer-order-app .Sending build context to Docker daemon 23.11MBStep 1/5 : FROM ibmcom/websphere-traditional:latest-ubi---> fd0ada1243f0Step 2/5 : COPY --chown=was:root CustomerOrderServicesApp-0.1.0-SNAPSHOT.ear /work/config/CustomerOrderServicesApp-0.1.0-SNAPSHOT.ear---> 1960bcb9ce1b
Validate that image is in the repository using the images command (you should also see original websphere-traditional image):
$docker imagesREPOSITORY TAG IMAGE ID CREATED SIZEcustomer-order-app latest f8d3eafdd30a 3 days ago 1.85GBibmcom/websphere-traditional 9.0.0.11 2985c9be759f 10 days ago 1.78GB
Test the image
To test the image locally you are also going to need a database to connect to locally. We aren’t going to go into this much. Since we want the DB2 and tWAS containers to be able to talk to each other we create a network they can share
$docker network create customer-order
Now we start DB2. This DB2 contains scripts to populate the database with sample data for our application on startup.
$docker run -d --network customer-order --privileged=true -e LICENSE=accept -e DB2INST1_PASSWORD=db2inst1 -e DBNAME=orderdb --name db2-customer-order vandepol/db2-cos
This take a while to start up since it creates the database from scratch.
to access this database from the tWAS container, we use the hostname = container name. In this case the hostname would be db2-customer-order
You are going to test the image in local Docker engine. Issue the following command to start the container:
$docker run -d --network customer-order --name twas-customer-order -p 9443:9443 -p 9043:9043 customer-order-app:latest
Check if container started successfully using command:
$docker logs -f 9ee253a59956869c6WASX7303I: The following options are passed to the scripting environment and are available as arguments that are stored in the argv variable: "[/work/config-ibm/webContainer.props]"Starting server ...................ADMU3000I: Server server1 open for e-business; process id is 494HPEL is enabledrun logViewer.sh
Right now the problem we have is that the database hostname in the scripts we used to configure the application doesn’t match the hostname of the db2 docker container we started. That leads us to our next section on modifying the configuration without rebuilding the container. We could simply modify the jython scripts and change the hostname of the databases to db2-customer-order, however we’re going to do it using configuration files.
Modifying Configuration without rebuilding container
When building the traditional WebSphere container there may be configuration you will want to add or change between environments. You don’t want to have to rebuild your container just because a database hostname changed, or for password changes.
To solve this problem, you can load configuration changes at server start-up using properties files. In this section we’ll show how to extract the configuration into properties files. In the Deploy section we’ll describe how to create the configMaps and load them at server start-up when deploying using the cloudpak.
We have pre-extracted configuration files in the runtimeConfig folder, however if you want to extract your own you can follow the steps below.
We start with a server environment setup and running with the resources defined as you desire. We can use the docker container we created above. We can run this locally.
docker run -d --rm --name twas-customer-order -p 9443:9443 -p 9043:9043 -p9080:9080 -v /myconfigs/:/etc/websphere/ customer-order-app:latest
Here we expose port 9043 for the WebSphere admin console. We also mount a volume so that we can extract the properties files we’re generating locally.
Next, we ssh into the container to execute commands to extract the configuration. To enter the shell script of our container locally we run the command:
docker exec -it twas-customer-order bash
Once in the container shell, we execute the following commands
/opt/IBM/WebSphere/AppServer/bin/wsadmin.sh -lang jython
you will be prompted for your credentials. Use the credentials you would use in the Admin Console.
in our example we have:wasadmin/passw0rd
Run the following command to extract the Datasource configuration and the Password information:
AdminTask.extractConfigProperties('[-propertiesFileName /etc/websphere/Datasource.inds.props -configData DataSource=INDS -options [[PortablePropertiesFile true]]]')AdminTask.extractConfigProperties('[-propertiesFileName /etc/websphere/Datasource.orderds.props -configData DataSource=OrderDS -options [[PortablePropertiesFile true]]]')AdminTask.extractConfigProperties('[-propertiesFileName /etc/websphere/JAASAuth.db2password.props -configData Security= -filterMechanism SELECTED_SUBTYPES -selectedSubTypes [JAASAuthData] -options [[PortablePropertiesFile true]]]')
The syntax for these commands can get complicated. Documentation available here
Sample Configuration Files
If we want to change something in this configuration, we can make a change to these properties files.
To apply this to the container we can do this at container build time by copying the properties file into
the /work/config folder as described in the Modifying Artifact section.
However, if you want to modify these at deploy time without rebuilding the docker container (ideal for passwords and database hostnames which change between environments), you can do a volume mount to
/etc/websphere, and these will be applied at server start-up.
Let’s try this!
Open the properties files, Datasource.inds.props and Datasource.orderds.props. Here let’s change the server name of the database we’re accessing to the name of our local db2 container we start above.
serverName=db2-customer-order #String
If our container is still running from before we want to stop it so that we can restart it and allow for the new properties to be loaded.
docker stop twas-customer-order
Restart the docker container and map the properties files again. Remember to connect to the same network of the db2 container we started above
docker run -d --rm --name twas-customer-order --network customer-order -p 9443:9443 -p 9043:9043 -p 9080:9080 -v /runtimeConfigs/:/etc/websphere/ customer-order-app:guide
We can look at the logs to see if the properties files are loaded. TIP: the properties files MUST end in .props. it will not detect different file types in the /etc/websphere folder at server start-up.
$ docker logs twas-customer-order -fENABLE_BASIC_LOGGING isConfigure logging modeWASX7357I: By request, this scripting client is not connected to any server process. Certain configuration and application operations will be available in local mode.+ Found config-files under /etc/websphere. Executing...WASX7357I: By request, this scripting client is not connected to any server process. Certain configuration and application operations will be available in local mode.WASX7303I: The following options are passed to the scripting environment and are available as arguments that are stored in the argv variable: "[/etc/websphere/Datasource.inds.props]"WASX7357I: By request, this scripting client is not connected to any server process. Certain configuration and application operations will be available in local mode.WASX7303I: The following options are passed to the scripting environment and are available as arguments that are stored in the argv variable: "[/etc/websphere/Datasource.orderds.props]"
How we can log into the admin console to see our changes.
Verify the application
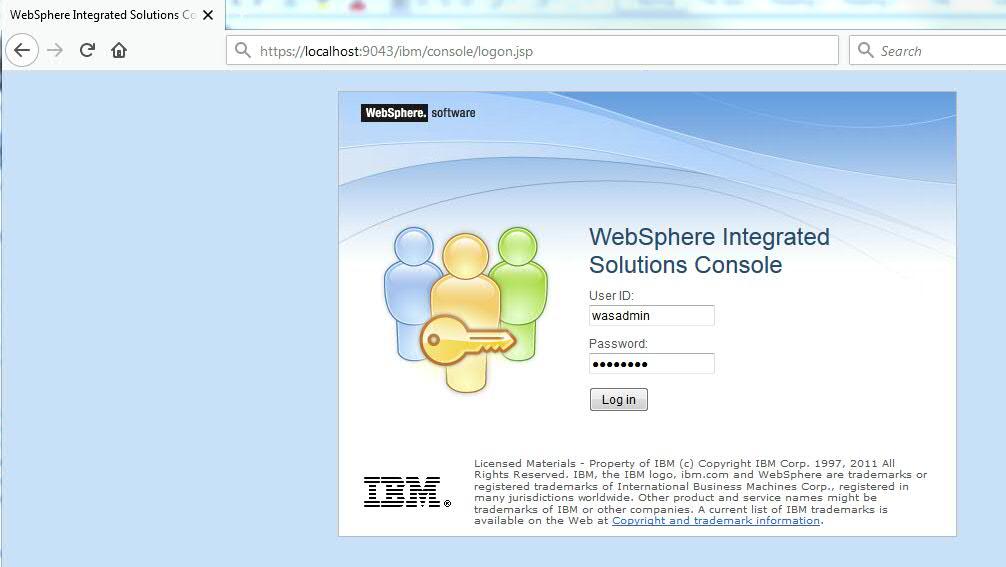
After the server is successfully started, you can connect to it using browser. Use http://localhost:9043/ibm/console to access admin console of the server running in the container. Login using your original credentials, that where migrated.

Also validate that application has successfully started

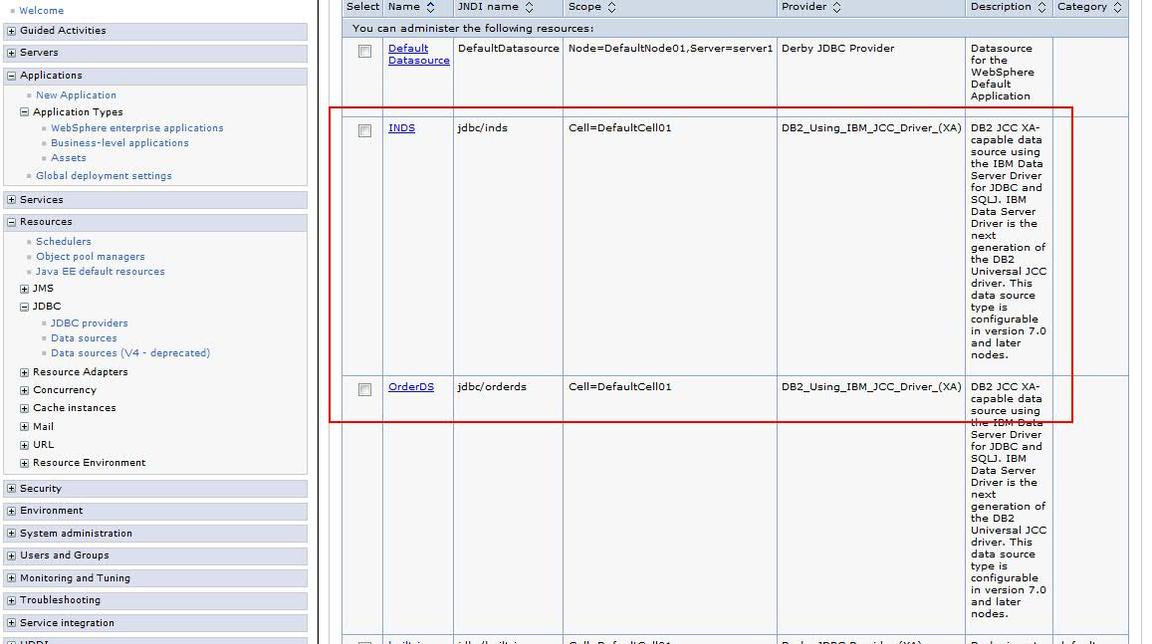
And the Datasources were also migrated

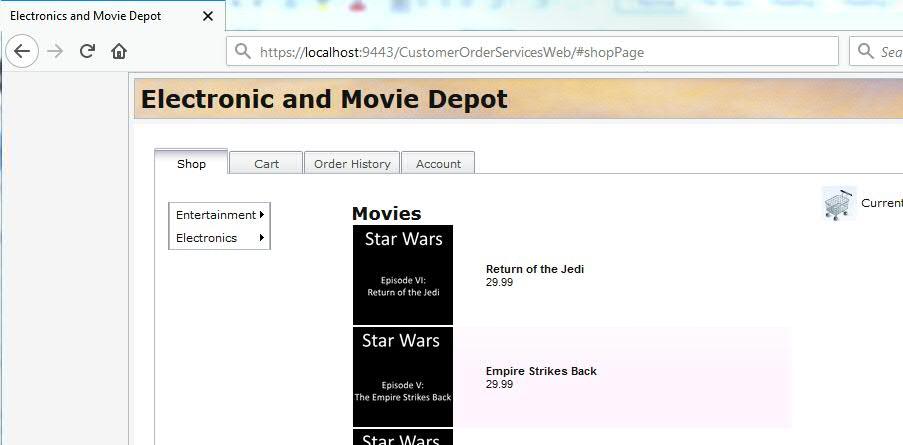
Finally open the application https://localhost:9443/CustomerOrderServicesWeb use rbarcia/bl0wfish for username and password if prompted.

You have successfully migrated application to the traditional WebSphere Application Server container. Good job!
Advanced: Put your passwords in Secrets!
One issue with the above scenario is that the contents of the JAASAuth.db2password.props is in plain text (or XOR encrypted…which isn’t hard to crack). Typically, we wouldn’t want to store this in a properties file, which would then be stored as a configmap in Kubernetes. We’d want to use secrets. The way secrets work is that the properties loaded into the secret are loaded as environment variables at container start-up. Ideally, we would want to replace values in the properties files we’ve loaded above with environment variables, this is currently not supported in the cloudpak (Feature request made to development); however, we have a work around to load these values ourselves.
First, we would replace a value with reference to an environment variable. Let’s use that the port number as an example again.
syncQueryTimeoutWithTransactionTimeout= #booleanfreeResourcesOnClose=false #StringtraceFileCount=null**portNumber=!{inds.port.number} #integer**stripTrailingZerosForDecimalNumbers=nulltranslateForBitData=nullwebSphereDefaultQueryTimeout= #integerclientApplicationInformation= #String
Here we have assigned the portNumber to the environment variable inds.port.number.
We have created a simple script to run prior to server startup which will replace all references to environment variables with the environment variable values.
The script we created is available here
#!/bin/shmkdir /etc/websphere/origcp /etc/websphere/*.props /etc/websphere/orig/for f in $(find /etc/websphere/orig/ -regex '.*\.props');doenvsubst < $f > "/etc/websphere/$(basename $f)";done
One issue is that we need to install envsubst into the container, which is included inside the gettext package. We have to run apt-get install to install this. Next we need to copy our script into the container, and lastly we need to modify the startup command to run this command prior to server start-up. Here is our solution to this:
RUN apt-get update && apt-get install -y gettextCOPY --chown=was:0 envsubst-cmd.sh /work/CMD ["sh", "-c", "/work/envsubst-cmd.sh && /work/start_server.sh"]
Now we should be able to start up the container and pass a new value as an environment variable to change the port number.
docker run -d --rm --name customer-order-app -p9443:9443 -p 9043:9043 -v /myconfigs/:/etc/websphere/ -e inds.port.number=50002 customer-order-app:latest
To specify environment variable in the properties file you can replace the value with ${inds.port.number}
Conclusion
In conclusion, we’ve taken our estisting traditional WebSphere application. We’ve loaded the container with the server and application configuration. We’ve installed the application, and modified the configuration if required. This sets us up for integrating all of this into a CI/CD pipeline and then deploying this to Kubernetes.
We’re on our way to the cloud!