Kafka Connect - jdbc
Info
Updated 11/03/2020. Lab works with one small issue needs to be fixed in test or jdbc connector.
This scenario is using the IBM Kafka Connect sink connector for JDBC to get data from a kafka topic and write records to the inventory table in DB2. This lab explain the definition of the connector and how to run an integration test that sends data to the inventory topic.
Pre-requisites
Pull in necessary pre-req context from Realtime Inventory Pre-reqs.
As a pre-requisite you need to have a DB2 instance on cloud up and running with defined credentials. From the credentials you need the username, password and the ssljdbcurl parameter. Something like "jdbc:db2://dashdb-tx....net:50001/BLUDB:sslConnection=true;".
-
Build and deploy the
inventory-app. This application is a simple Java microprofile 3.3 app exposing a set of end points for CRUD operations on stores, items and inventory. It is based on Quarkus. The instructions to build, and deploy this app is in the README. At the application starts, stores and items records are uploaded to the database. -
Verify the stores and items records are loaded
-
If you deploy the
inventory-appfrom previous step, then you will have the database created and populated with some stores and items automatically. If you want to drop the data use the drop sql script and then reload them the insert sql script fromsrc/main/resourcesfolder. For that you can use theRun sqlmenu in the DB2 console:
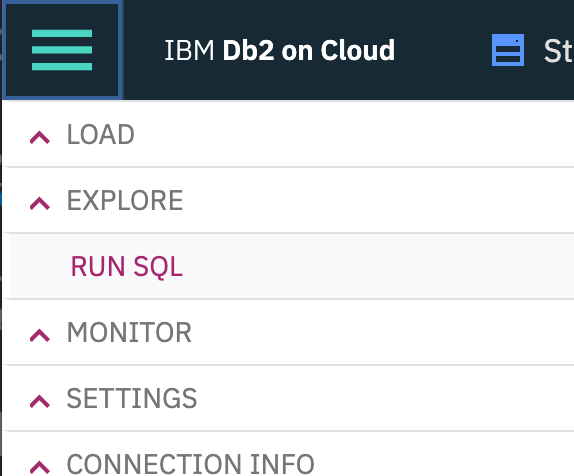
Select the database schema matching the username used as credential, and then open the SQL editor:
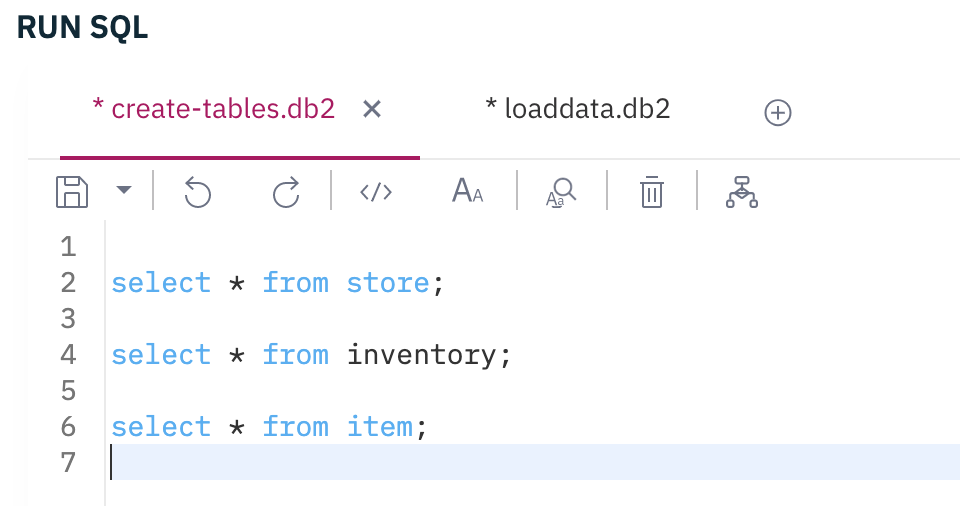
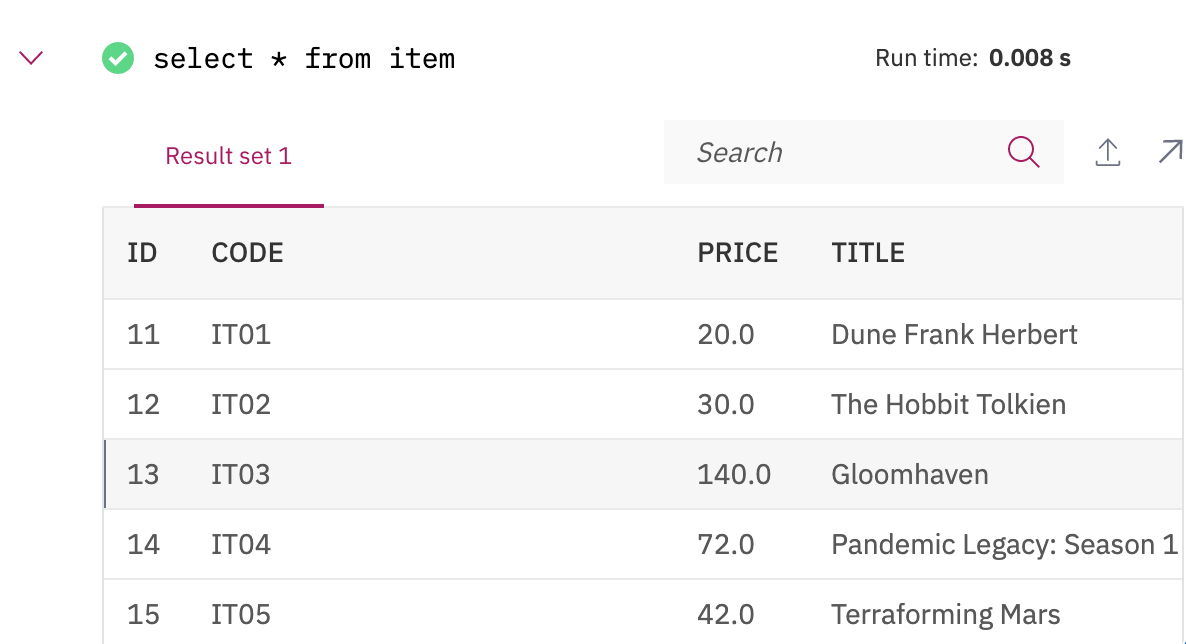
Verify the items with select * from items;
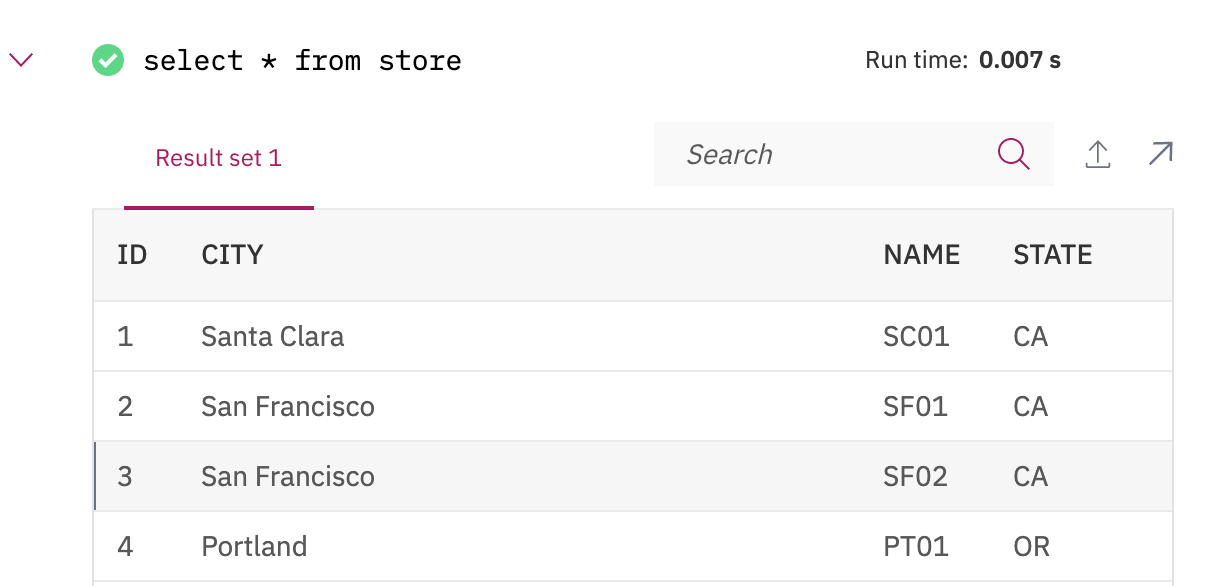
Verify the stores with select * from stores;
The inventory has one record to illustrate the relationship between store, item and inventory.
Run the Kafka Connector in distributed mode
In the refarch-eda-tools repository the labs/jdbc-sink-lab folder includes a docker compose file to run the lab with kafka broker, zookeeper, the kafka connector running in distrbuted mode and an inventory app to get records from DB.
Upload the DB2 sink definition
Update the file db2-sink-config.json with the DB2 server URL, DB2 username and password. The DB schema matches the user name, so update this setting for the table.name.format with the username.
  "name": "jdbc-sink-connector",
  "config": {
    "connector.class": "com.ibm.eventstreams.connect.jdbcsink.JDBCSinkConnector",
    "tasks.max": "1",
    "topics": "inventory",
    "connection.url": "jdbc:db2://....services.dal.bluemix.net:50001/BLUDB:sslConnection=true;",
    "connection.user": "<username>",
    "connection.password": "<password>",
    "connection.ds.pool.size": "1",
    "insert.mode.databaselevel": "true",
    "table.name.format": "<username>.INVENTORY"
  }
Once done, you can run the ./sendJdbcSinkConfig.sh <url-kafka-connect> to upload the above definition to the Kafka connect controller. When running locally the command is ./sendJdbcSinkConfig.sh localhost:8083. This script delete previously define connector with the same name, and then perform a POST operation on the /connectors end point.
The connector trace should have something like:
connector.class = com.ibm.eventstreams.connect.jdbcsink.JDBCSinkConnector
    errors.log.enable = false
    errors.log.include.messages = false
    errors.retry.delay.max.ms = 60000
    errors.retry.timeout = 0
    errors.tolerance = none
    header.converter = null
    key.converter = null
    name = jdbc-sink-connector
    tasks.max = 1
    transforms = []
    value.converter = null
Generate some records
The integration-tests folder includes a set of python code to load some records to the expected topic.
- Start a python environment with
./startPython.sh -
Within the bash, start python to execute the
ProduceInventoryEvent.pyscript, and specify the number of records to send via the --size argument. -
The trace should have something like
Produce to the topic inventory

ending -> {'schema': {'type': 'struct', 'fields': [{'type': 'string', 'optional': False, 'field': 'storeName'}, {'type': 'string', 'optional': False, 'field': 'sku'}, {'type': 'decimal', 'optional': False, 'field': 'id'}, {'type': 'decimal', 'optional': True, 'field': 'quantity'}, {'type': 'decimal', 'optional': True, 'field': 'price'}, {'type': 'string', 'optional': True, 'field': 'timestamp'}], 'optional': False, 'name': 'Inventory'}, 'payload': {'storeName': 'Store_1', 'sku': 'Item_1', 'quantity': 16, 'price': 128, 'id': 0, 'timestamp': '05-Nov-2020 22:31:11'}}
sending -> {'schema': {'type': 'struct', 'fields': [{'type': 'string', 'optional': False, 'field': 'storeName'}, {'type': 'string', 'optional': False, 'field': 'sku'}, {'type': 'decimal', 'optional': False, 'field': 'id'}, {'type': 'decimal', 'optional': True, 'field': 'quantity'}, {'type': 'decimal', 'optional': True, 'field': 'price'}, {'type': 'string', 'optional': True, 'field': 'timestamp'}], 'optional': False, 'name': 'Inventory'}, 'payload': {'storeName': 'Store_1', 'sku': 'Item_8', 'quantity': 13, 'price': 38, 'id': 1, 'timestamp': '05-Nov-2020 22:31:11'}}
Verify records are uploaded into the Inventory database
You can use two approaches to get the database, by using the inventory app or using the DB2 console, use the select * from inventory; SQL query to get the last records.
The swagger is visible at the address http://localhost:8080/swagger-ui and get to the URL http://localhost:8080/inventory