Image Security deployment enforcement controls
The enforcement controls for image security deployment helps you to verify the images before deploying them to the IBM Cloud Kubernetes service. Using this, you can define vulnerability advisor policies and also ensure that content trust is properly applied to the image. If the requirements are not met, the pod will not be deployed.
Configuring your CLI to run kubectl
- Login to IBM Cloud CLI.
ibmcloud login
If using federated id, use ibmcloud login --sso
- Choose your account and select the organization where the cluster resides.
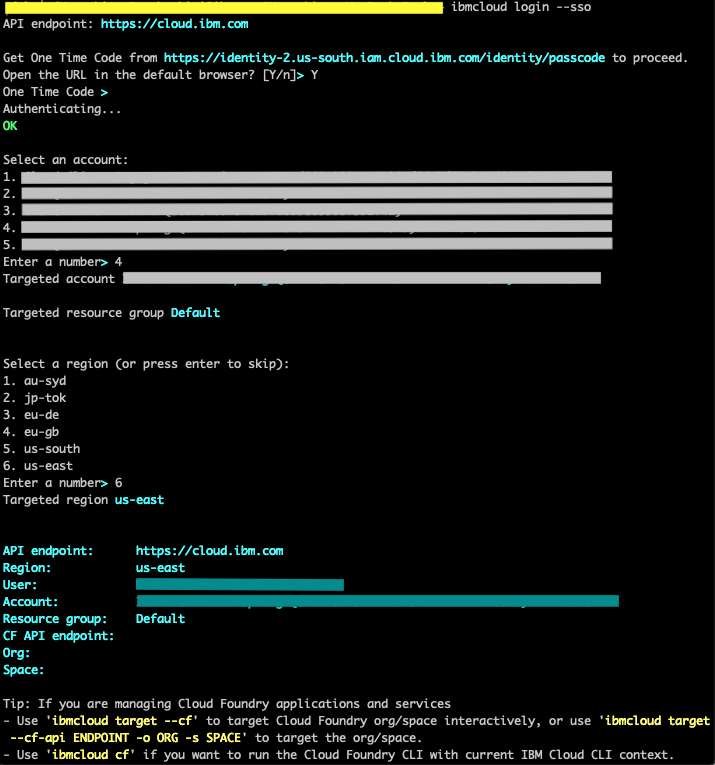
- Target the resource group.
ibmcloud target -g <resource_group> -r <region>
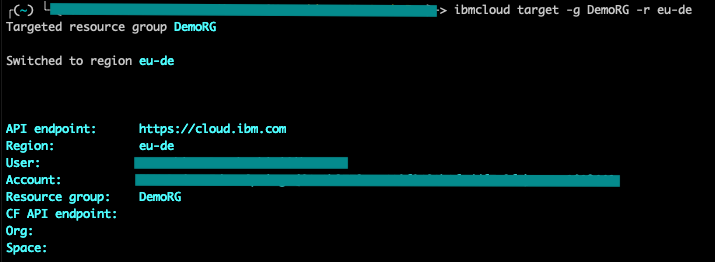
- Target the region.
ibmcloud ks region-set <region>

- Set the context for the cluster.
ibmcloud ks cluster-config <your_cluster_name>
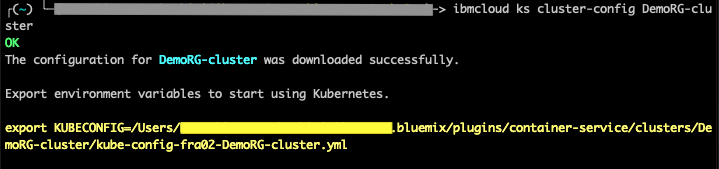
- Export the KUBECONFIG environment variable from the previous step.
export KUBECONFIG=/Users/<users-name>/.bluemix/plugins/container-service/clusters/DemoRG-cluster/kube-config-fra02-DemoRG-cluster.yml
Setting Up Helm
-
You need Helm CLI on your local machine. If not installed, follow the instructions here.
-
Check if tiller is installed in your cluster.
kubectl get serviceaccount --all-namespaces | grep tiller
If it is installed, you will see something like below.

- If tiller is installed, do the below.
Create a cluster role binding.
kubectl create clusterrolebinding tiller --clusterrole=cluster-admin --serviceaccount=<namespace>:tiller -n <namespace>

Update tiller.
helm init --upgrade --service-account <tiller_service_account_name>

Verify tiller status.
kubectl get pods -n <namespace> -l app=helm

- If tiller is not installed, do the below.
Create a Kubernetes service account and cluster role binding for Tiller in the kube-system namespace.
kubectl create serviceaccount tiller -n kube-system
kubectl create clusterrolebinding tiller --clusterrole=cluster-admin --serviceaccount=kube-system:tiller -n kube-system

Verify if it is created.
kubectl get serviceaccount -n kube-system tiller

Initialize helm CLI and install tiller.
helm init --service-account tiller

Verify the status.
kubectl get pods -n kube-system -l app=helm

Installing Container Image Security Enforcement
Install the IBM Container image security enforcement using the helm chart from the IBM chart repository.
Add the ibm repo.
helm repo add ibm https://icr.io/helm/ibm

helm install --name cise ibm/ibmcloud-image-enforcement
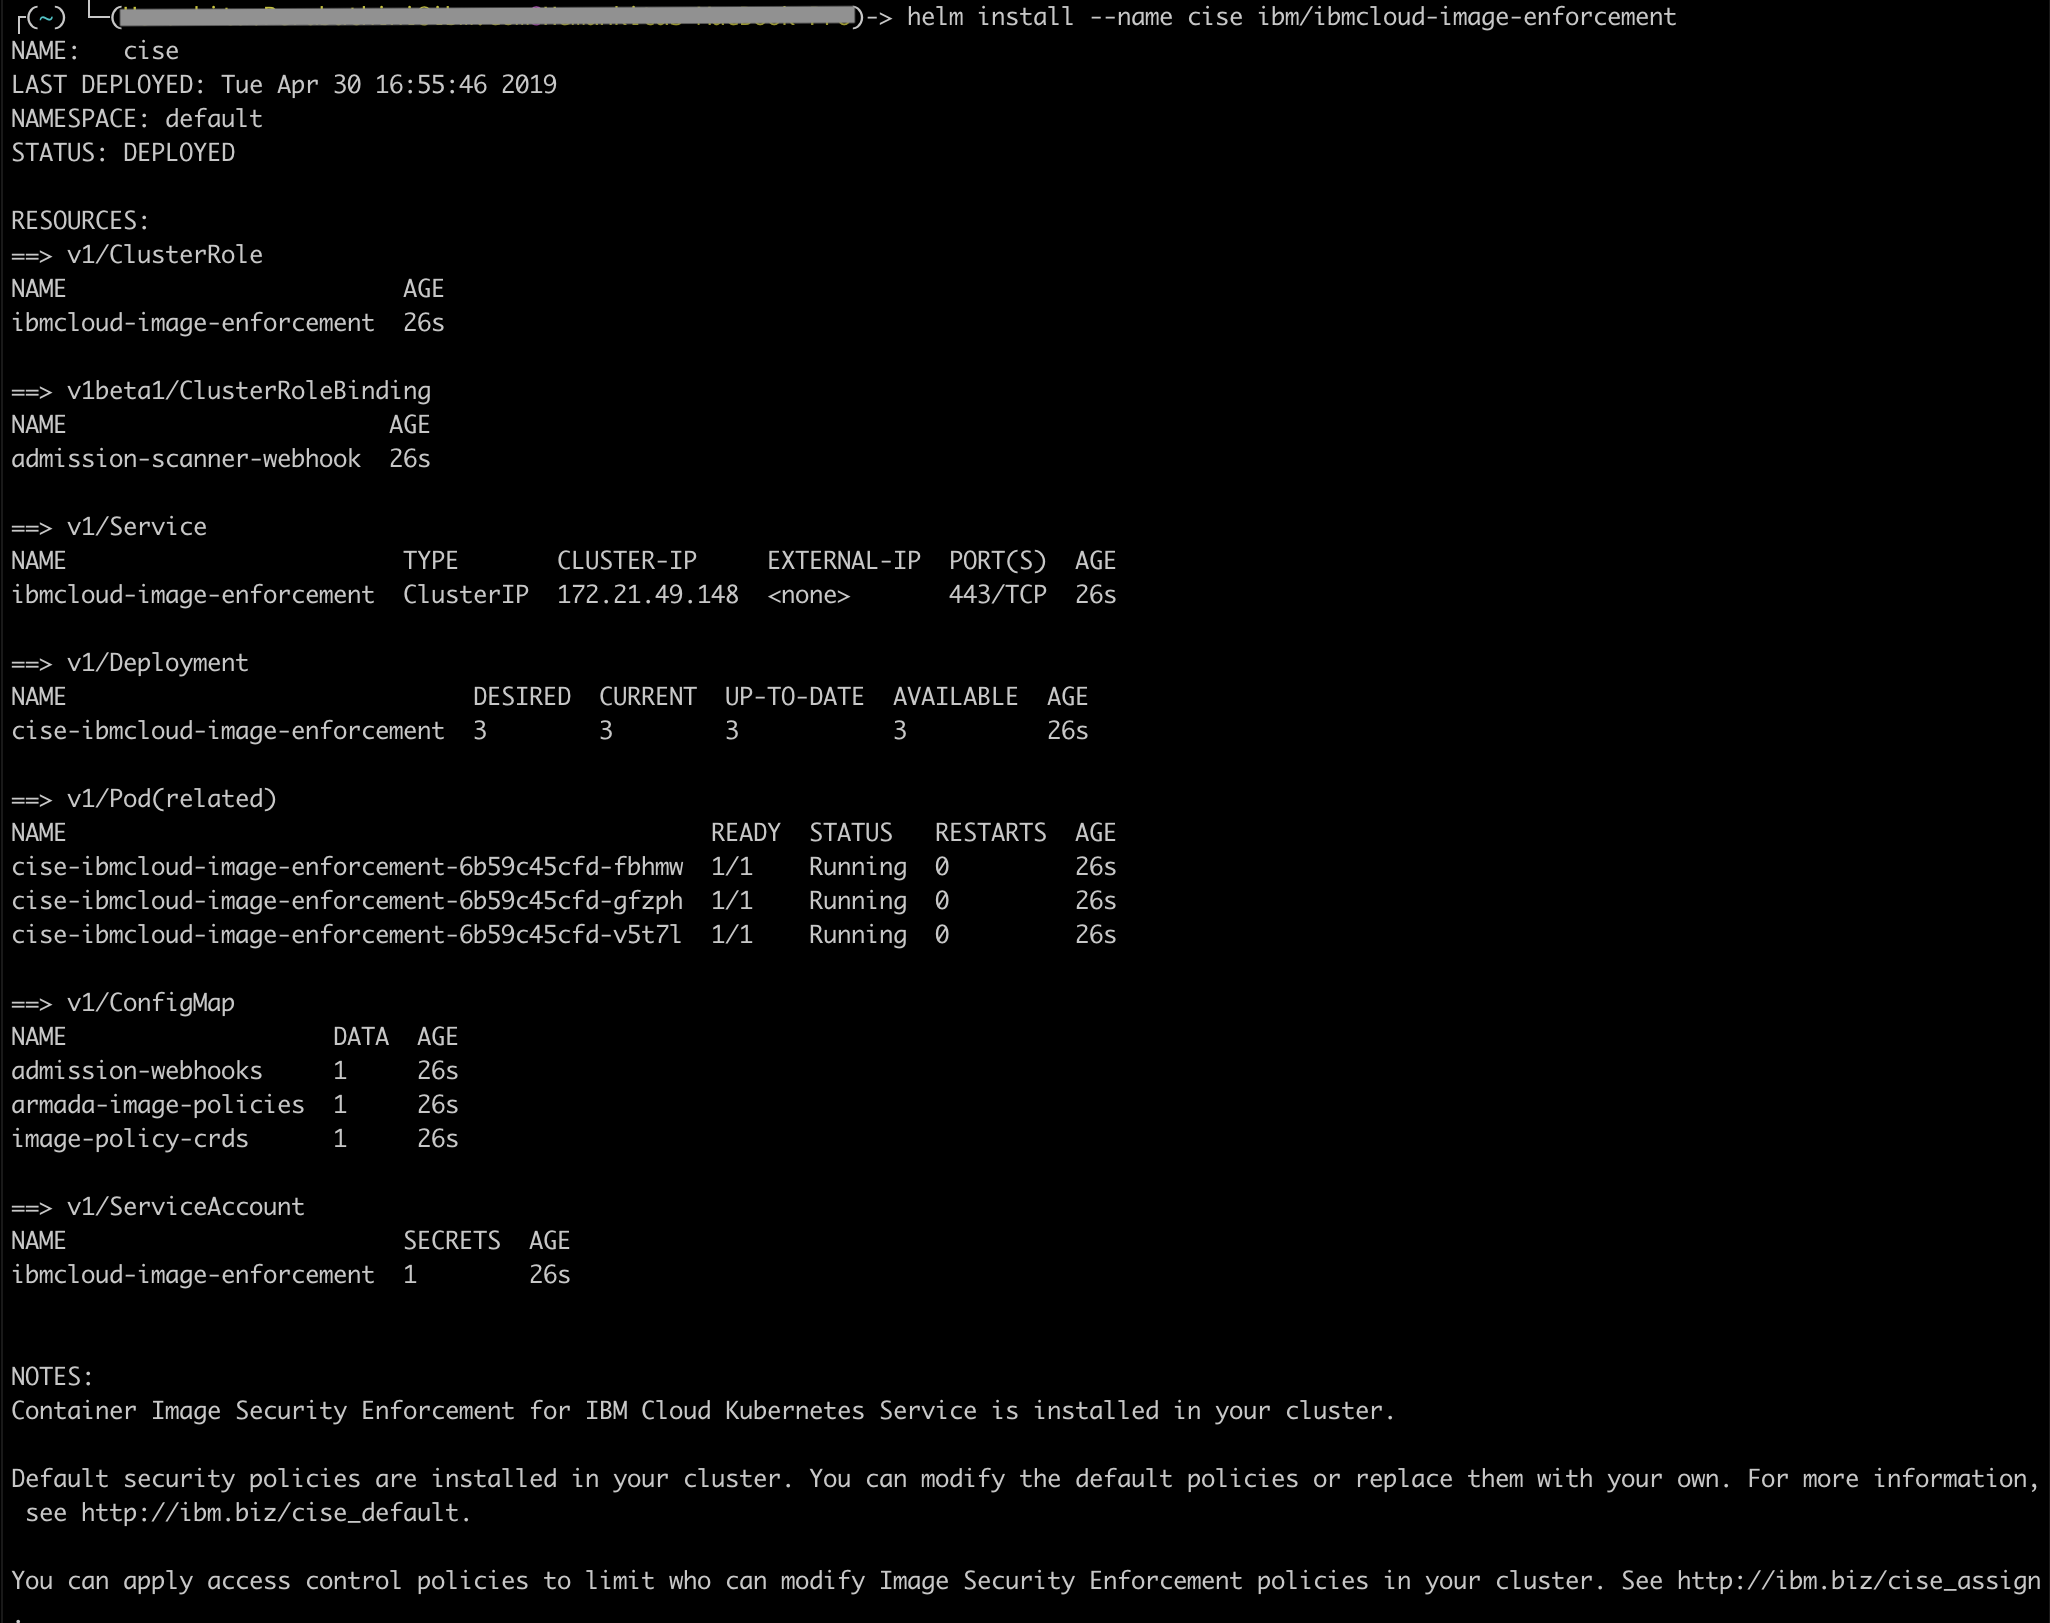
With this you get some default policies.
Default policies
- To get the cluster wide policy, run
kubectl get clusterimagepolicy

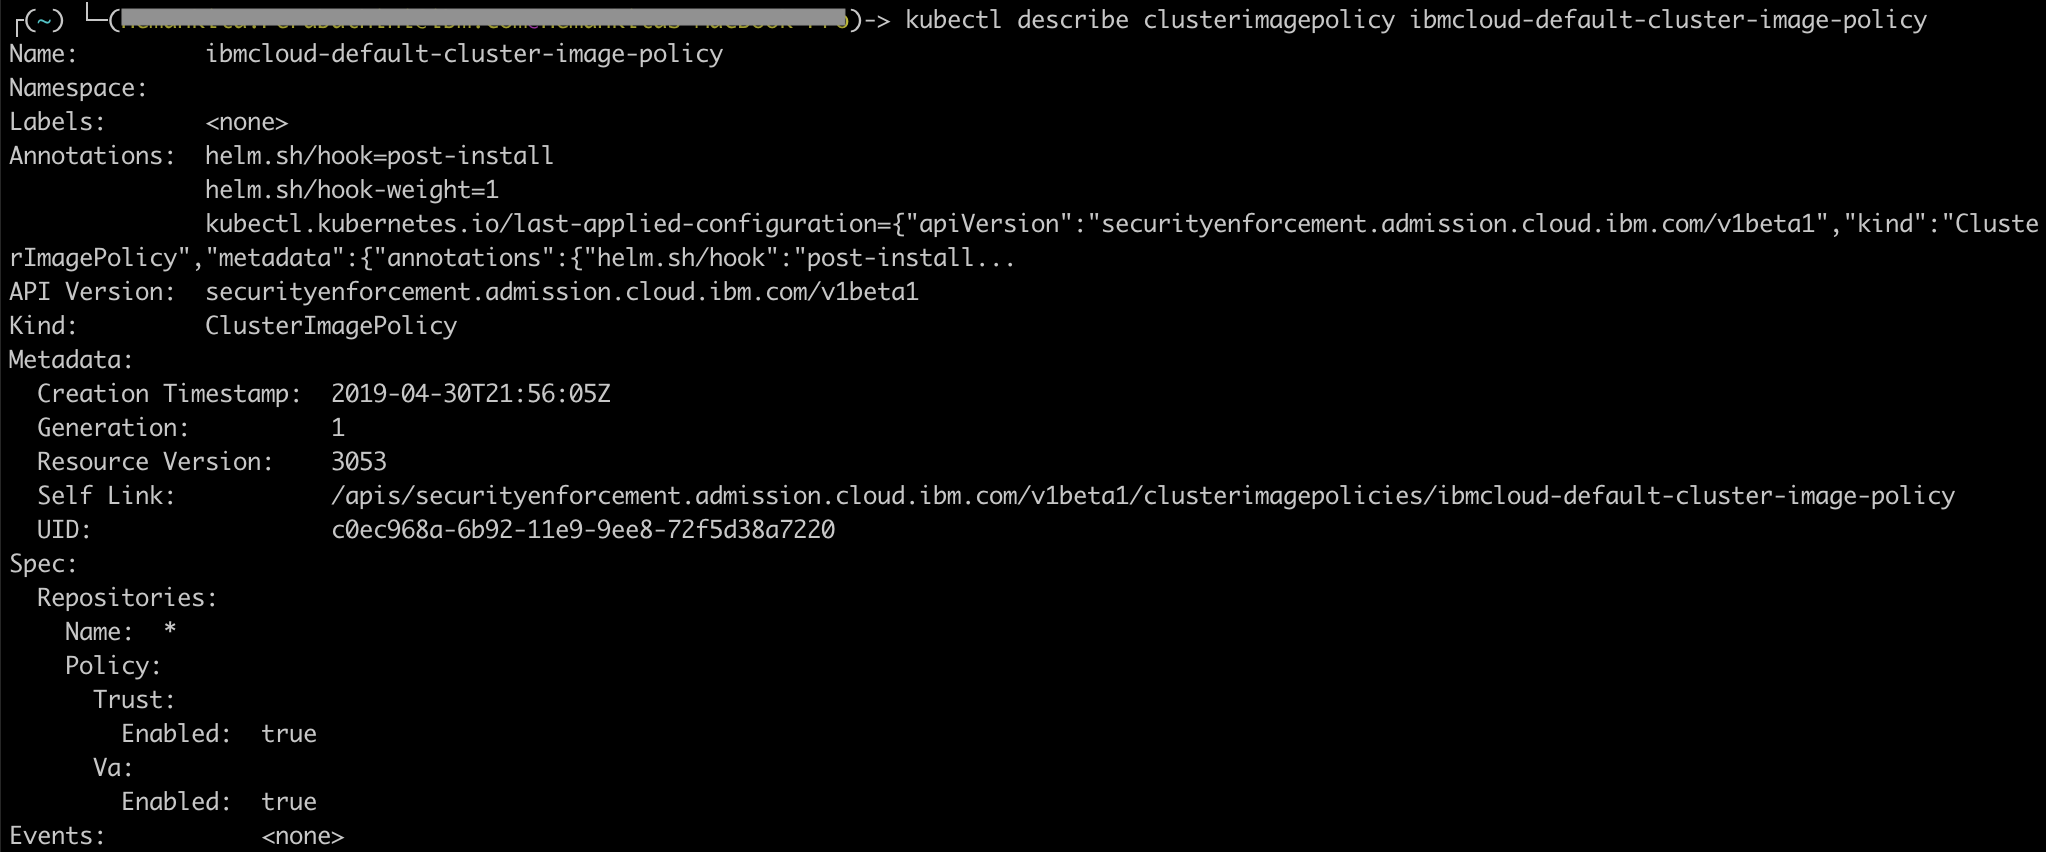
To get the description, run
kubectl describe clusterimagepolicy ibmcloud-default-cluster-image-policy
- To get the kube system policy, run
kubectl get imagepolicy -n kube-system

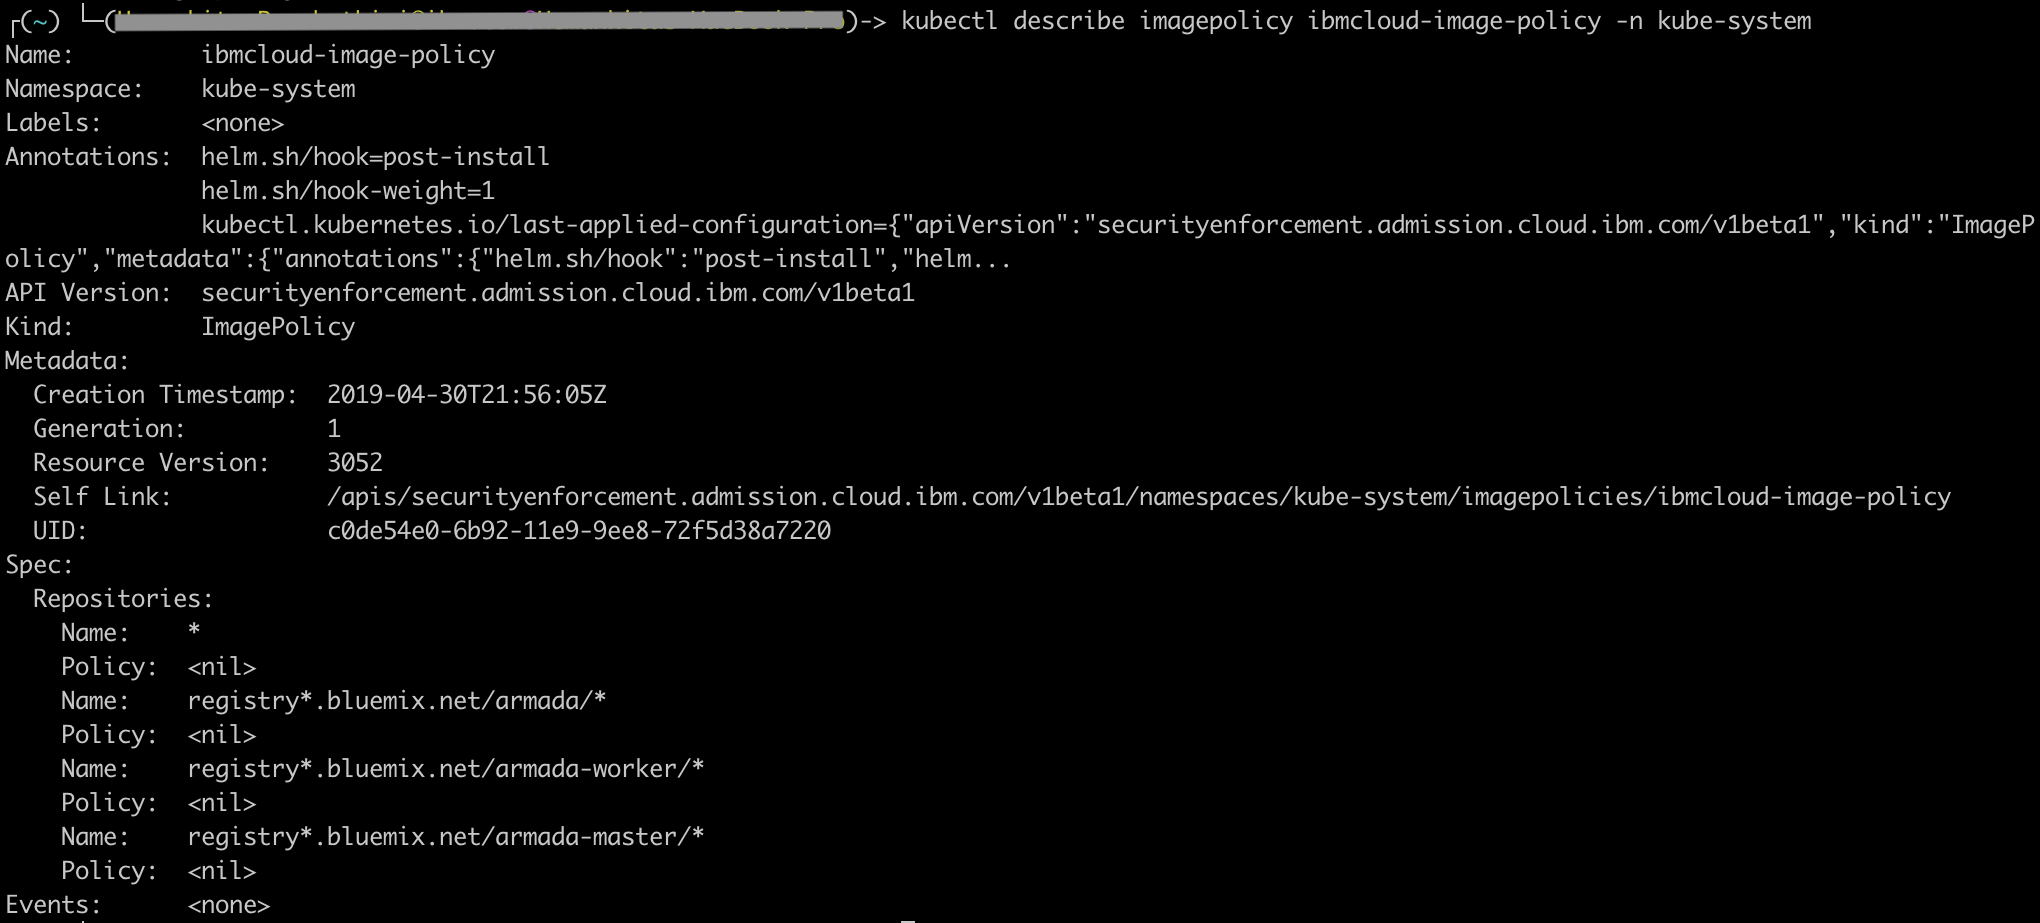
To get the description, run
kubectl describe imagepolicy ibmcloud-image-policy -n kube-system
- To get the IBM system policy, run
kubectl get imagepolicy -n ibm-system

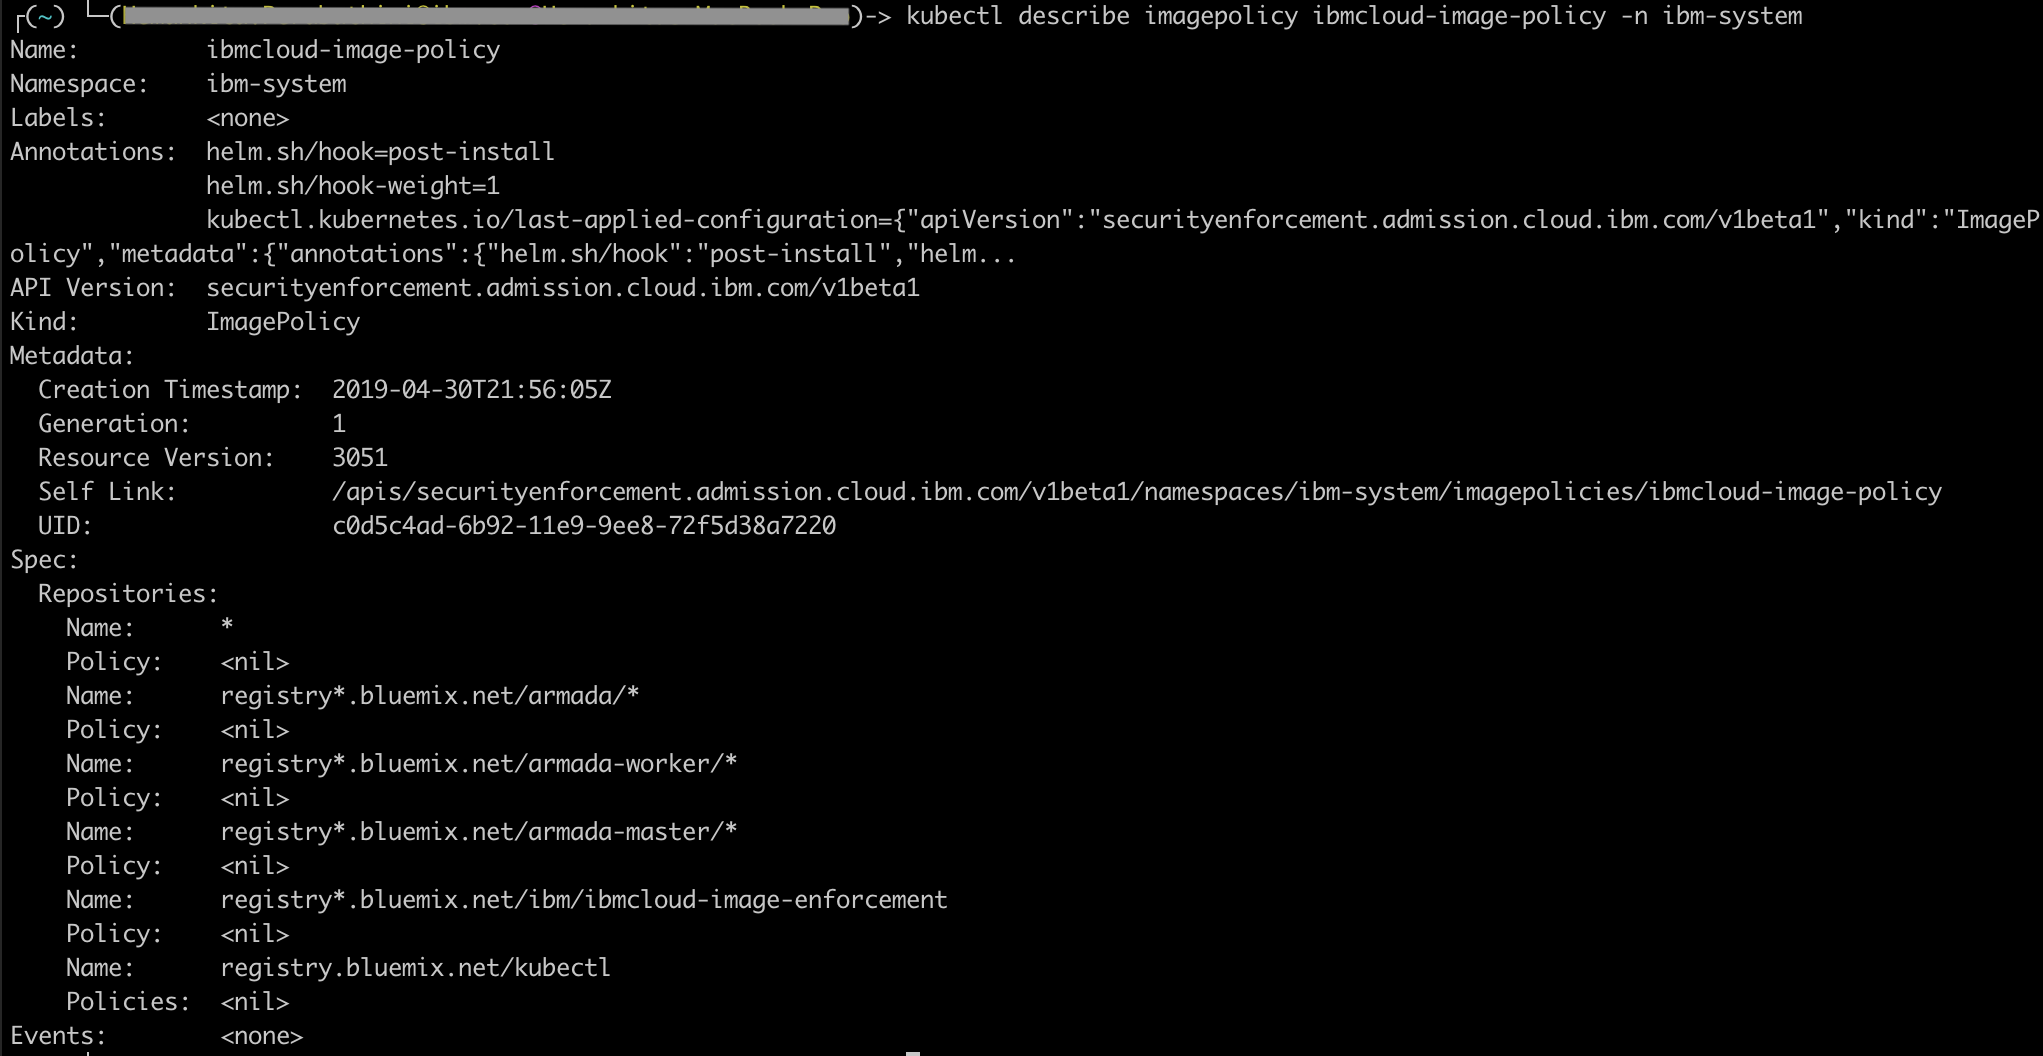
To get the description, run
kubectl describe imagepolicy ibmcloud-image-policy -n ibm-system
Customize the policies.
- To override the existing policies, we can do the following.
- Write a new policy document and apply it to the cluster by using
kubectl applyor - Edit the default policy by using
kubectl edit
- Let us now edit the
ibmcloud-default-cluster-image-policy.
kubectl edit ClusterImagePolicy ibmcloud-default-cluster-image-policy
You will see something like below.
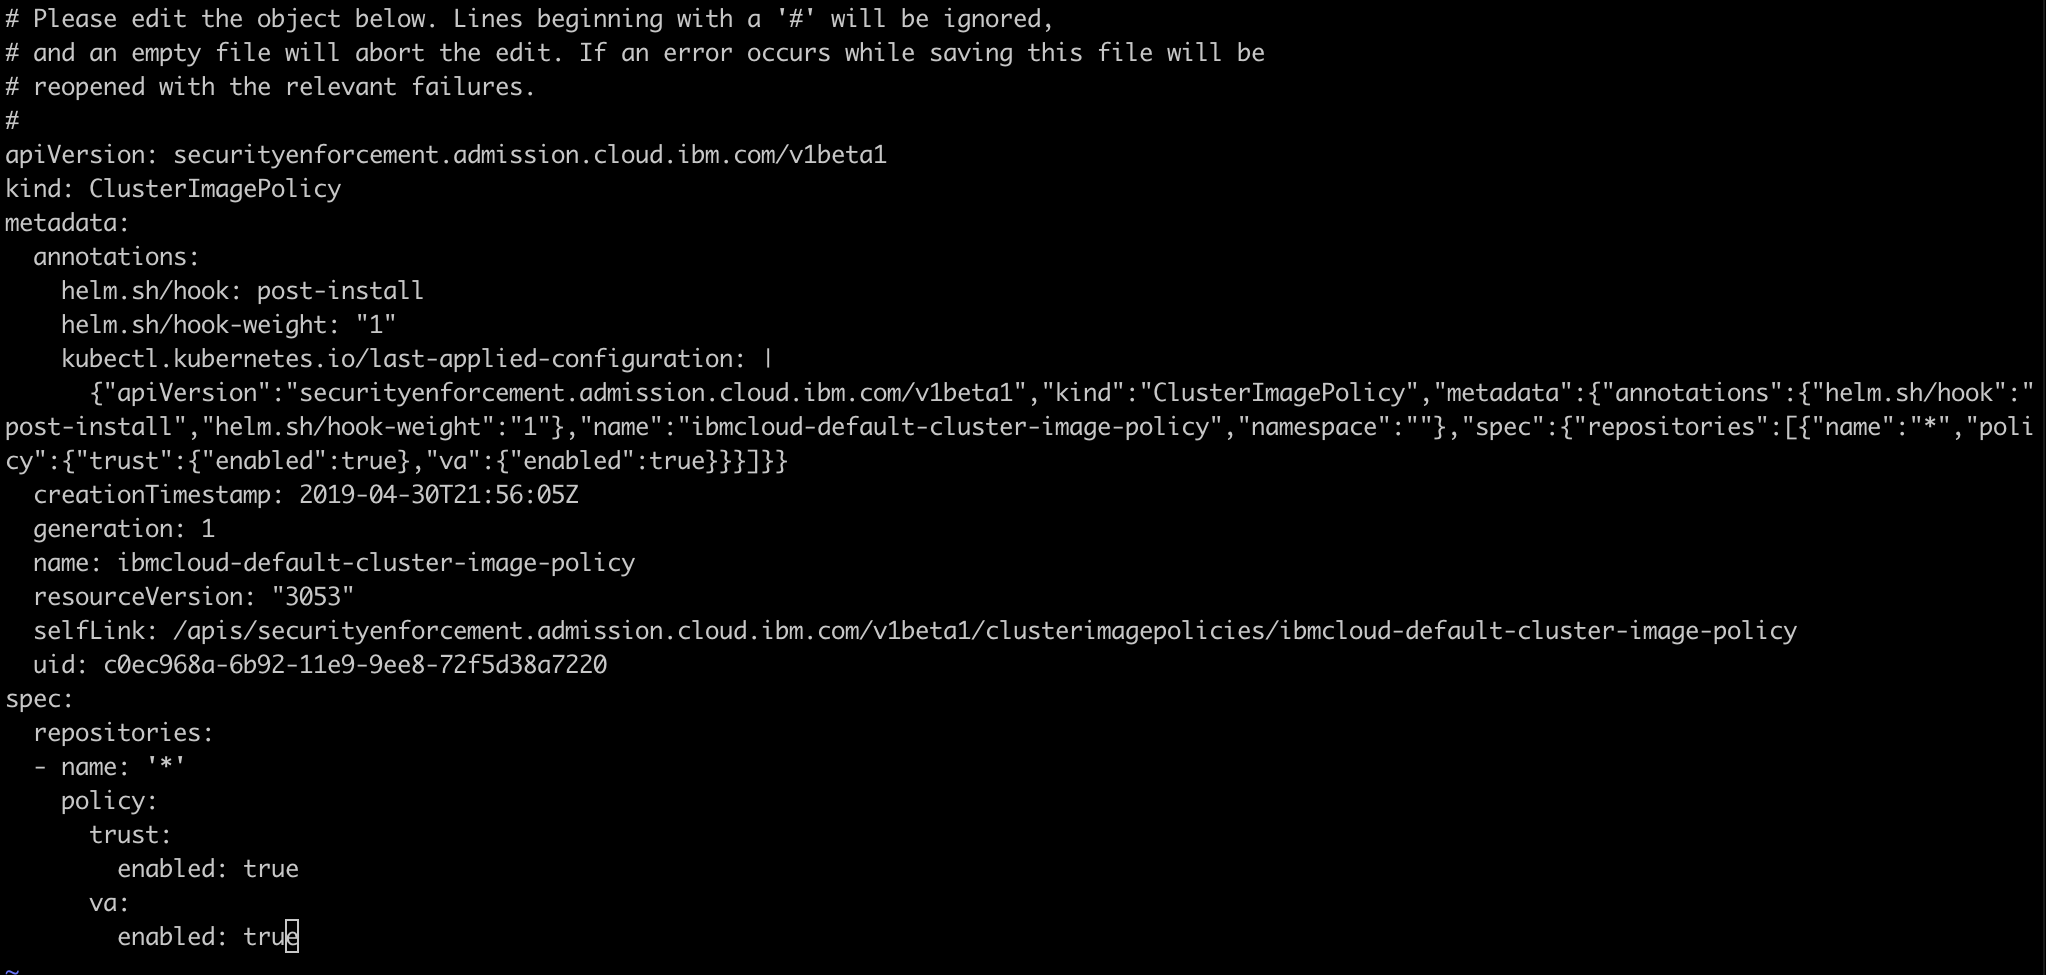
Change the repository name from * to docker.io and save it.

Once it gets edited, the changes will apply.

Here, previously our cluster image policy allows to use the images from any repository where as now we restricted it to only use the images from docker.io. In this way, you can define your own policies based on the requirements.
- If you want to create a complete new ClusterImagePolicy, create a kubernetes custom resource definition like below.
apiVersion: securityenforcement.admission.cloud.ibm.com/v1beta1
kind: <ClusterImagePolicy_or_ImagePolicy>
metadata:
  name: <crd_name>
spec:
   repositories:
    - name: <repository_name>
      policy:
        trust:
          enabled: <true_or_false>
          signerSecrets:
          - name: <secret_name>
        va:
          enabled: <true_or_false>
and then do kubectl apply -f <your_file>